We all feel more confident and attractive on a good hair day, but it is not always easy to get our hair to look gorgeous. A visit to a reputable hair salon is the easiest way to get the best out of your hair, but, unfortunately, it can be quite expensive.
You can easily watch a tutorial on how to make a bun or a braid, but you should think twice before you start cutting or coloring your hair on your own. It does not mean that you cannot dye or bleach your hair at home because you can; you just need to make sure that you have all the right info and equipment before you start. If not, you can seriously damage your hair.
So, what if you want to make your hair lighter and cannot afford to go the salon route?
You can bleach your own hair – that means to strip it of its color and make it lighter. Before we start discussing this subject, we must get one thing straight – bleaching can be done at home, but we always recommend turning to hair professionals, if it is possible.
We will give our best to answer all the important questions and provide you with handy tips and tricks on how to bleach your hair at home. We will tell you how long to leave bleach in hair, 30 Vol, or 20 Vol, as well as how to avoid any damage.
What Do You Need To Bleach Your Hair On Your Own?
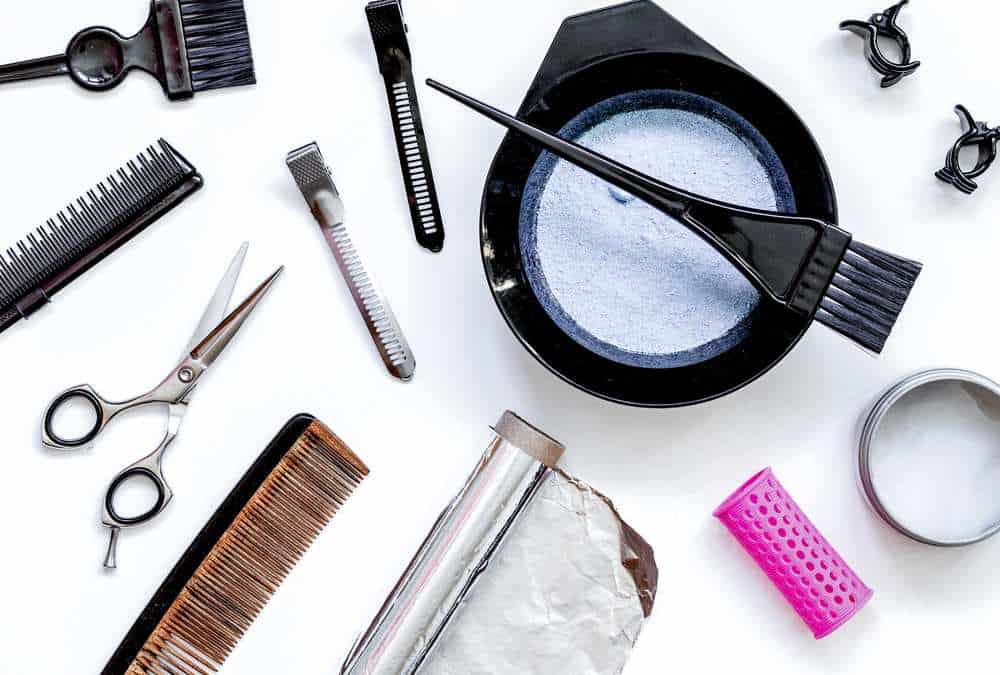
No matter what you do – be well prepared! This adventure will require the following things:
- High-quality lightener that can lift at least seven levels while protecting your hair from a breakage at the same time. A good-quality lightener does not require an excessively strong developer either, so it saves your hair from permanent damage.
- 20 or 30 Vol developer – depending on the degree of lift you hope to achieve. You can also combine the two and use 20 Vol near your hair’s root and 30 Vol on the lengths.
- Toner or color to re-pigment or tone your hair after you bleach it. If you do not want yellow-toned hair, it is best to use purple shampoo and mask immediately after bleaching. In this way, your hair will turn out pure white blonde.
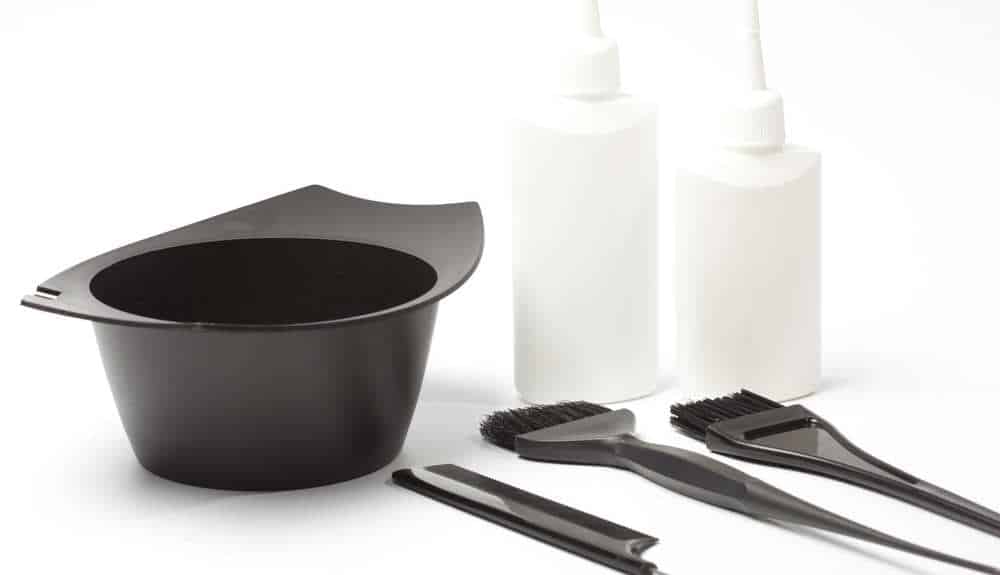
- Mixing bowl to combine the lightener and developer.
- Feather brush for applying the mixture.
- Sectioning brush & crocodile clips for parting your hair.
- Rubber gloves to protect your hands from the products.
That’s it! It is not a long list, and you should have no trouble finding all of these things. When you thick all the boxes, you are ready for the next step: preparing your hair for the bleaching!
Before we go on to discuss that subject, we need to answer one more important question: What developer to use? The following table is self-explanatory:
| How many levels do you aim to lift? | Type of developer |
| 1-2 levels | 20 Vol developer |
| 3 levels and more | 30 Vol developer |
In our humble opinion, using a 40 Vol developer is not a good idea, especially if you have fine hair.
As we have mentioned before, you can combine the 20 Vol and 30 Vol developers as well. The heat of your scalp will help process the bleach faster, and you can thus use the lower (20 Vol) volume in that area.
If you hope to become an ash or platinum blonde, choose a high-quality 30 Vol developer that can lift up to ten levels.
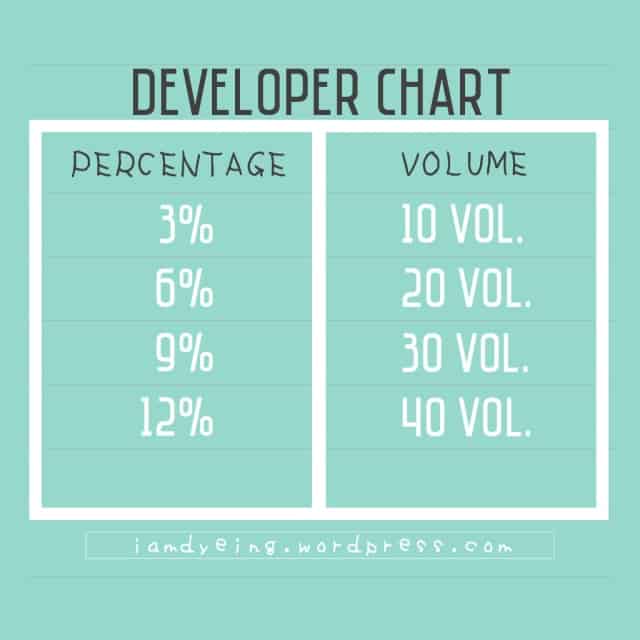
Here is a conversion chart to help you get around when shopping for a developer:
How To Prepare Your Hair For Bleaching?
There is not much you should do at this point. If you have applied any type of hair color in the past, you already know everything about preparing the hair for bleaching too. Namely, the process is more-less the same.
First of all, you should know that there is no need to wash your hair – it only has to be completely dry. Many people make the mistake of washing their hair before coloring or bleaching, especially when they are about to go to a hair salon. You should not be embarrassed at all – hair bleach is best applied on unwashed hair because it contains natural hair oils protecting it during the bleaching process.
Make sure you brush the hair thoroughly so that you can section it more easily! It will speed up the whole process.
How Long To Leave Bleach In Hair For The Best Results?
The answer to this question is not an easy one to provide since bleaching is not a one-size-fits-all kind of treatment. The required time varies depending on several different factors, especially on the color of your hair and its texture.
| Hair color & Texture | How long to leave it in your hair? |
| Blonde hair | 15 to 20 minutes |
| Dark hair | 30 minutes |
| Fine hair | 10 to 15 minutes |
| Coarse hair | 30 minutes |
Extra Tip: No matter your hair color or texture, nor how long it takes to bleach it, it is always a good idea to divide the process into several sessions so that you do not feel overwhelmed and mess things up!
Keep in mind that fine hair will process faster due to the thinner cuticle layer, while coarse hair can even require you to repeat the process once again.
In order to determine how long you should leave bleach in your hair, you need to answer the following questions:
- What color are you hoping to achieve?
- Have you colored your hair before?
The lighter you expect your hair to be, the longer you will leave the bleach on. Remember, though, that blech cannot do much once it dries out completely. The other rule to remember is that you should never exceed the maximum time of half an hour since that would, without any doubt, damage your hair for good.
What If You Leave The Bleach In Your Hair For Too Long?
If you leave the bleach on your hair for longer than 30 minutes or so, you risk seriously damaging it. You could end up with brittle strands but also face other dire consequences such as the following:
- Your hair can lose all its pigment and become completely white.
- Your hair can become weaker and more prone to breakage.
- Your hair could lose its natural capability to retain moisture and appear very dry.
- Your hair can turn highly porous due to dehydration.
- Your hair can lose keratin – a natural protein that makes up your hair. Without keratin, the hair is brittle and cannot be styled.
- Even the skin under and around your hair can become affected by the bleach – the feeling is similar to sunburns.
It is hard to avoid any damage when bleaching your hair, but if you follow the rules by the letter and use only high-quality products, you can minimize the harm.
What Are The Precaution Measures You Can Take?
The following precautions will help you prevent at least some of the damage when taking the DIY route of bleaching your hair at home:
Do a patch test.
- You should always do a patch test before applying any skin or hair product since that is the only way to make sure you do not have an allergy that you’re not aware of.
- Follow these simple steps:
- Choose a small area on your forearm and wash and dry it thoroughly.
- Rub in a few drops of bleach
- Let it sit for about 24 hours.
- Check for signs of irritation such as redness, itching, blistering, or swelling. If you notice any of them, do not use the bleach on your hair.
- Wash the area off with some gentle soap.
Apply some bleach on your hair ends.
- This test will show you whether your hair is in good enough condition to handle the bleaching process. If it is too damaged for bleach, you will notice the ends kink up and fray. In this case, you should not proceed with lightening your hair but rather cut your ends first.
Follow the directions to the letter.
- Bleaching your hair is not a perfect opportunity to let your creative juices flow. Read the provided directions and follow them to the letter.
Take all the recommended safety measures.
- Do what professionals do – wear gloves and protective eyewear!
Check on the hair repeatedly.
- Do not apply bleach and go snooze but rather check on your hair for the level of lightness after 10 minutes or so. Do that every 10 minutes until you reach the maximum time of 30 minutes.
- If you are not satisfied with the results, do not leave the bleach on for longer than half an hour – rinse it and apply a new batch! You can repeat the process for one time only.
Avoid applying bleach on hair that has already gone through some aggressive treatment.
- If your hair has already been chemically-treated or straightened/curled recently, it might not be able to withstand the power of bleach.
Take special care of your hair post-bleaching.
- In order to restore your hair’s health after bleaching, use pre-shampoo conditioners for a couple of days. You can also do a post-color treatment or apply a deeply-nourishing hair mask. Never iron or blow-dry your hair without applying a thermal protector first.
- Be gentle to your hair when you brush it! Wait at least six weeks before bleaching again.
Takeaways
We recommend turning to professionals whenever possible -they have vast experience with the bleaching process and can guarantee full coverage. You can also do an after-color treatment at a professional salon and prevent hair damage.
On the other hand, bleaching your hair at home is much cheaper and can save you hundreds of dollars. Just be aware that you will have to work with very intense chemicals that can literally blow up your hair if used improperly.
The good news is that our advice can help you do things right. Follow the directions carefully, always wear protective equipment, and use only high-quality products!
Most importantly: never leave the bleach on for too long!
Learn More: How Long To Leave Bleach On Hair?
