Having your nails done is not just a question of preference, it’s almost a must-have. Having a clean, nude manicure for your day-to-day life is almost necessary.
Or doing some crazy, neon color for your vacation, either way – everyone goes to have their nails done from time to time. It’s usually regularly because they just look better when done by a nail technician.
However, during the lockdown, that changed. All nail salons and beauty salons closed down for the time being and we were all forced to cope without the things that were a regular part of our lives for so long.
You looked at your nails and longed for a manicure. This is no time to wallow in sadness, so you decided to take the matter into your own hands. You opted for the acrylic nails.
Everyone knows that you can make the acrylic powder at home, but what’s the secret to the DIY recipe? How to make acrylic powder? Continue reading the article to find out!
How To Make Acrylic Powder?
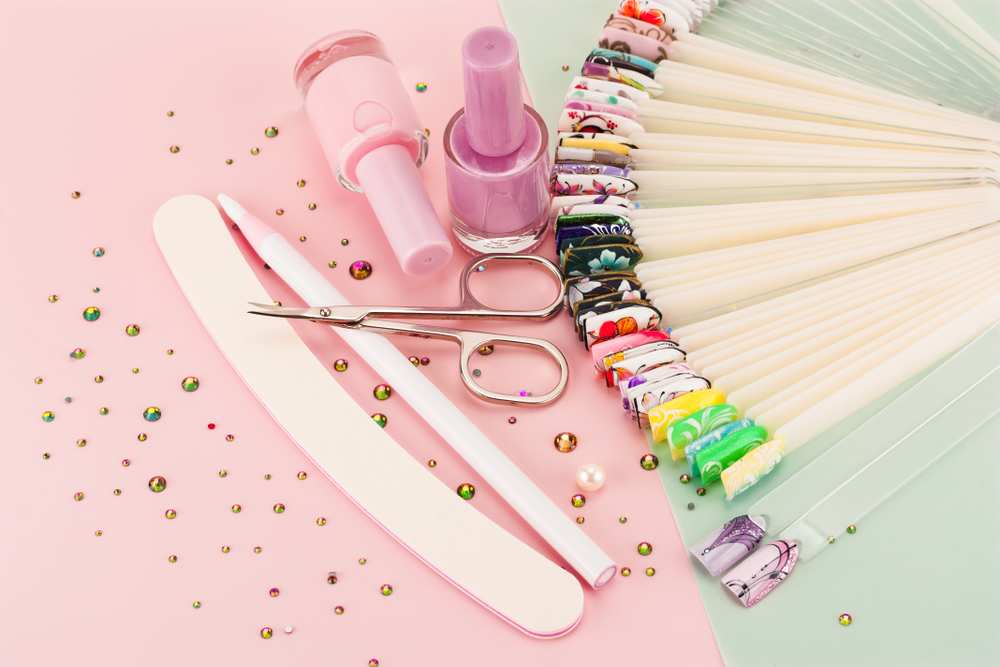
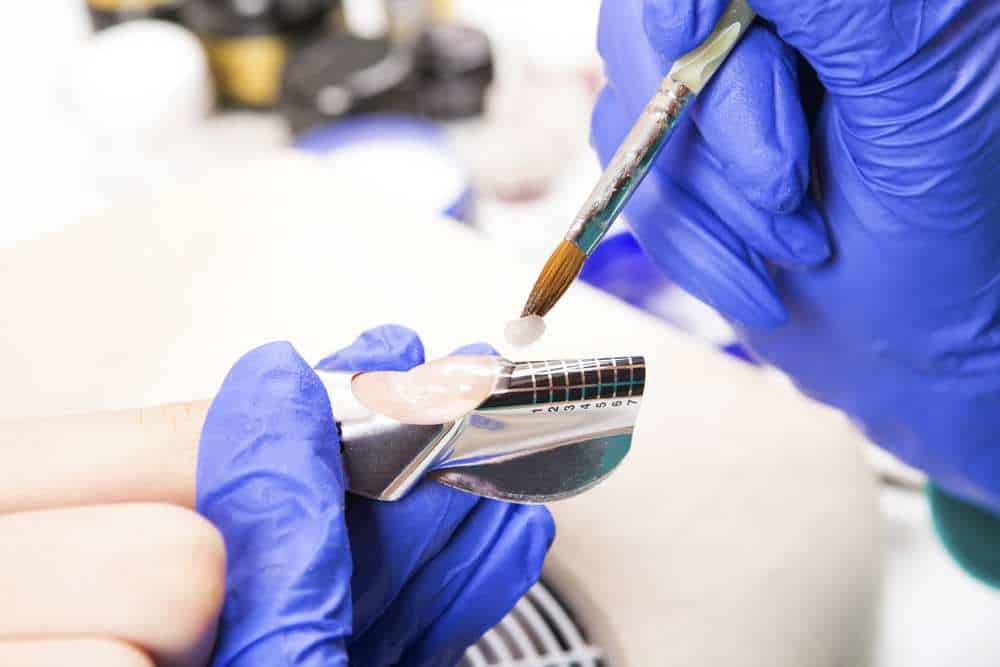
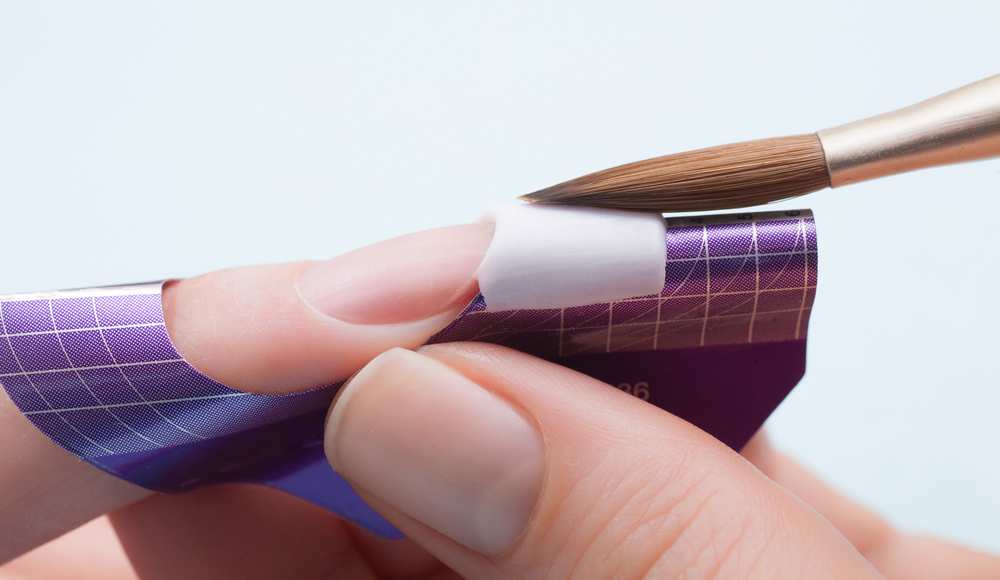
It’s common knowledge that you need just a few things to make acrylic nails: acrylic powder, nail polish, some water, and tiny tools. Those tiny tools would be mostly for nail prepping, but you need a nail brush and the nail forms to apply the acrylic on your nails.
Once, not too long ago, someone figured out that you can use different powders instead of acrylic powder. During the lockdown, we figured out a lot of things we could do on our own, just because we had to.
So many of us weren’t brave to dye our hair, but to do your nails? It must be hard if you’ve never tried it before – and believe us, it is. On the other hand, it can be fun, too!
There isn’t much to do during the lockdown, except stay home. So, making your acrylic powder does sound like a lot of fun.
There are a few things you can use as a substitute. Our top picks are chalk, baking powder, and cornstarch.
We found some tips that you can make acrylic nails with flour, but we advise against that. Flour cannot make a strong bond, so your nails won’t last very long.
Making Nails With Acrylic Substitutes

Using substitutes for acrylic powder can help you pass the time during the worldwide lockdown, but it can also be money-saving. The substitutes for acrylic powder are usually very cheap.
You can decide on either of the things we listed above, they all work pretty much the same. The only thing we wanted to put an accent on is if you’re using chalk, make sure that you grind it very well, into a very fine powder.
If the powder isn’t fine, but it’s chunky instead, the method won’t work as well. Now, let’s talk about other things you need.
You need (besides the powder):
- Acrylic nail tips
- A plastic Jello cup to put the powder in
- Nail file and buffer
- Nail scissors or nippers
- Nail glue
- Clear polish
- Nail polish of your choosing
First, you need to prep your nails. Buff them with a buffer or a gentle nail file. Then, apply some glue and apply the nail tips.
Cut them with nail nippers or scissors to the desired length and use the nail file to shape the nails. If you’re a rookie in the nail world, try the almond or oval shape, as they’re a bit easier to do. Also, don’t make them too long the first time, as it can be difficult to do regular things, like remove contacts.
Then, use the file to buff the part where your nail and the tip meet to smooth it out. When you’re done prepping the nails, pour the powder you chose into the plastic Jello cup.
Take your clear nail polish and put it over your nail and after that, dip your finger into the powder. Shake it off gently, but do not touch the nail. Do this with all your fingers, and let the polish dry for three to four minutes.
We recommend that you apply four thin coats of nail polish and dipping, but you can go more or less if you prefer. Once your nails are completely dry, it’s time to shape the nail again.
Use a nail file – we advise you to use a finer, gentler nail file if you’re a beginner. It may take some more time to shape the nail well, but it’s better than taking off too much acrylic and ruining your work.
When you’re done, use a small clean brush to clean excess powder off your nails and fingers. Take your nail polish and apply a thin coat to your nails and let them dry completely – at least 10 to 15 minutes.
Over the nail polish, you can apply some glitter or a topcoat. A top coat will ensure your nails stay shiny and fresh for longer!
While we’re on the topic, can you paint over acrylic nails? Read our article to find out!
What’s An Acrylic Powder?
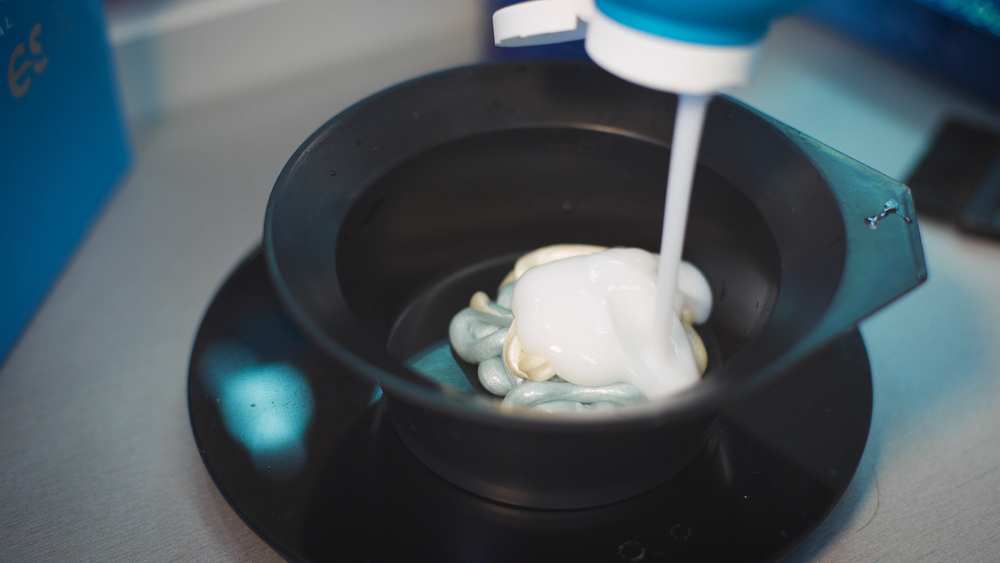
Acrylic powder is made of a monomer, polymer, suspensions and it’s all tied together with a catalyst. The acrylic powder is mixed with water and a catalyst to form a resin that hardens and becomes a fake nail.
The monomer part is called methyl methacrylate – which can be added to water to create a suspension. On the other hand, a polymer is a strand of the monomer that strings itself together in a chemical process.
To ensure the process goes well, a catalyst is added. A catalyst in this question is organic peroxide, but it could be some other chemical compound, as well. When the powder is mixed with water and the catalyst, or else known as glue, it creates the gooey look of acrylic you apply to your nails.
While most of us only know that acrylic powder is used for nails, it can be used for various whatnots, as well. The uses for acrylic powder are wide!
It’s most commonly used in ink, adhesives of sorts, undercoating for cars, auto pastes, and auto waxes, sheet molding, and even silver halide photographic film. These are the common uses, but there are highly specialized uses for acrylic powder, too.
When the acrylic powder is used for nails, pigment or accessories like glitter is added. So, you can choose so many different colors for your nails – it doesn’t have to be white.
Removing Acrylic Nails At Home

If you got the acrylic nails at the salon right before the coronavirus outbreak, you were faced with having to remove them all on your own. Sure, you have seen your nail tech do it all the time, but you’ve never done it on your own.
Let’s talk about the things you need, first. Get out your:
- Nail file
- Nail buffer
- Cuticle remover
- Acetone
- Foil and
- Cotton balls.
That’s it – you don’t need much else to remove your nails. Before you use the acetone, we recommend that you try to file off as much of the acrylic nail as you can.
After that, you can use acetone on cotton balls, which you will wrap with foil around your nail. Let the acetone soak the nail for 15 to 20 minutes for the best results. You can also pour the acetone into a bowl and soak your nails.
However, this can be very harsh on your cuticles and the skin around your nails, so the cotton ball and foil method is better. If you’re set on using the bowl method, just try to keep as little of your fingers soaked in acetone as possible.
Once you get the nails out, use a nail buffer or cuticle remover to gently scrape off the remaining acrylic off your nail. If there’s a lot of the acrylic left, take out your nail file and try to file the rest off.
If that doesn’t as well as you have hoped, consider soaking the nails for another 15 to 20 minutes. Again, it’s best to use cotton balls and foil.
Be careful when filing your nails so that you don’t damage them. Overfilling your nails can result in damage which can take forever to grow out. Use a conditioning oil or a hand and nail cream to keep your nails pretty and healthy.
How To Make Acrylic Powder? – Conclusion
To conclude, making acrylic powder is rather easy. There are a few kitchen items that can be used for the dipping method, as well as chalk!
Don’t be discouraged if the nails don’t look very well the first time. After all, it takes some practice to make good nails.
Remember, doing your nails with these items can be much cheaper. On top of that, it can be a great new hobby!


