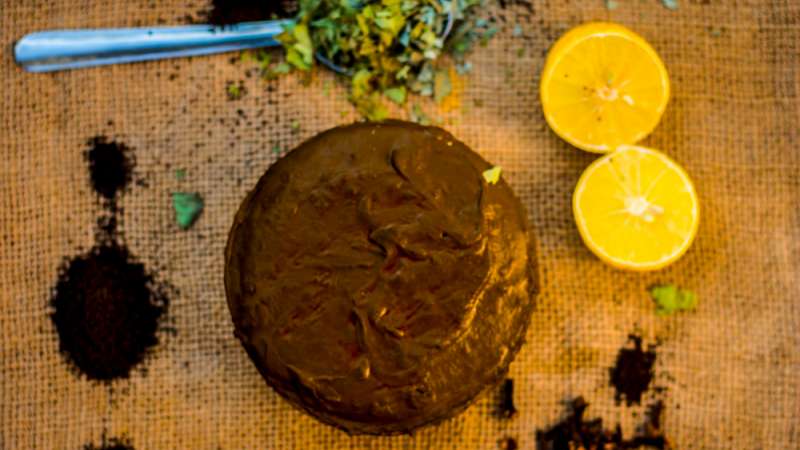
Have you ever used lemon juice in your henna for hair? If not, you should definitely try it! Henna + lemon juice is a great combination for hair.
So, in this post, we’ll go through how to use lemon juice for henna hair. We’ll also provide some pointers on how to make the most of this hair treatment.
Read on to find out more!
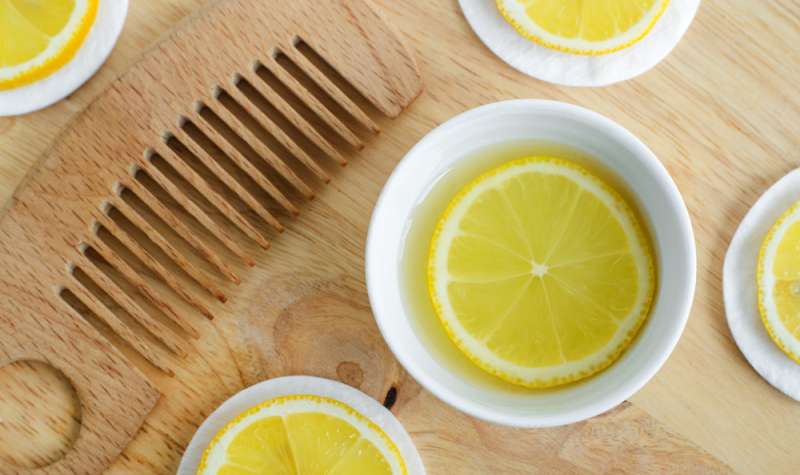
Is Lemon Juice Good for Your Hair?
Lemon juice is a citrus fruit that’s rich in vitamin C. It has many health benefits, including improving your skin complexion and reducing inflammation.
Vitamin C is a powerful antioxidant that can help to protect your cells from damage. It can also help to boost collagen production, which is important for healthy skin and hair.
Lemons are also a good source of citric acid, which has cleansing and exfoliating properties. This means that it can help to unclog pores and remove dead skin cells from your scalp.
When it comes to hair care, lemon juice is often used as a clarifying agent. This means that it can help to remove build-up from the hair and scalp, leaving them both feeling refreshed. Lemon juice is also a popular ingredient in DIY hair masks and treatments.
So, Can We Add Lemon Juice to Henna for Hair?
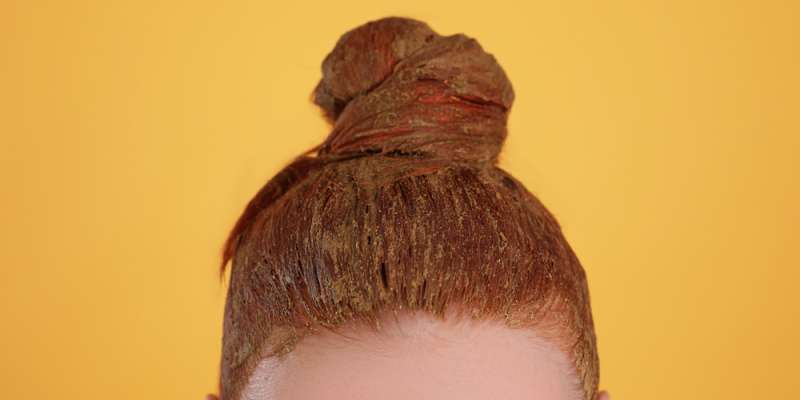
Yes, adding lemon juice to your henna for hair might enhance the color and conditioning effects of the treatment. Lemon juice is a natural clarifier that may aid in the removal of build-up from the hair and scalp. Vitamin C is also present, which can benefit hair and scalp health. Lemon juice may also assist to release the dye in henna, making it more vibrant.
Why Add Lemon Juice to Henna for Hair?
There are a few reasons why adding lemon juice to henna for hair can be a great idea:
- Lemon juice is a natural clarifying agent that can help to remove any build-up from the hair and scalp. This is important, as build-up can often lead to dull, greasy, or itchy hair.
- Lemon juice is rich in vitamin C. This vitamin is essential for the production of collagen, which is a protein that helps to keep hair strong and healthy. Vitamin C can also help to prevent dryness and breakage.
- Lemon juice can help to release the dye in the henna and make it more vibrant. When added to henna, lemon juice can also help to increase the conditioning effects of the treatment.
- The acidic nature of lemon juice will help to balance the pH of your scalp and prevent dandruff.
Related: How to Get Rid of Dandruff Without Shampoo?
Does Lemon Juice Make Henna Last Longer?
There is some debate over whether or not lemon juice makes henna last longer. Some people believe that the acidic nature of lemon juice can help to preserve the color of the henna. Others believe that the vitamin C in lemon juice can help to keep hair healthy and prevent it from fading.
However, there is no definitive answer when it comes to whether or not lemon juice makes henna last longer. If you want to try using lemon juice in your henna, we recommend doing a patch test first. This will help you to see how your hair and scalp react to the treatment.
Does Lemon Juice Darken Henna or Lighten It?
Lemon juice can actually help to lighten the color of henna. This is because lemon juice is an acidic fruit and can slightly bleach hair when used in high concentrations. If you’re looking to achieve a lighter shade of henna, adding lemon juice might be a good option for you.
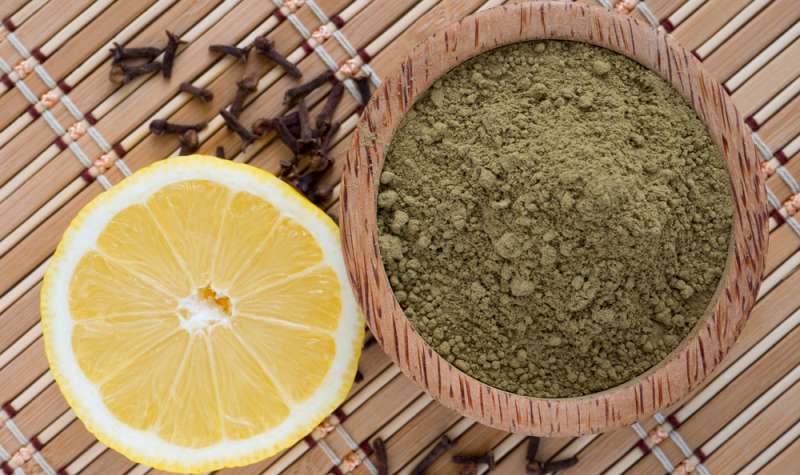
How to Use Lemon Juice in Henna for Hair: A Step-by-Step Guide
Before you add lemon juice to your henna paste, there are a few things that you’ll need to do in order to ensure that the treatment is effective:
1. Choose a High-quality Henna Powder
When it comes to choosing a henna powder, quality is key. We recommend opting for a 100% natural henna powder that is free from any synthetic dyes or chemicals.
2. Prepare Your Workspace
When you’re ready to mix the lemon juice and henna powder together, it’s important to have a clean and safe workspace. We recommend setting up a workstation in your kitchen or bathroom, as these areas are typically the easiest to clean.
3. Gather Your Supplies
In order to mix the lemon juice and henna powder together, you’ll need a few supplies. These include:
- A bowl or container for mixing
- A spoon or whisk for stirring
- A measuring cup or tablespoon
- A strainer (optional)
- A clean, dry cloth (optional)
4. Measure Out the Ingredients
Once you have all of your supplies, it’s time to measure out the ingredients. We recommend using 1 part lemon juice to 2 parts henna powder. For example, if you’re using 1 cup (120 grams) of henna powder, you would use 1/2 cup (60 grams) of lemon juice.
Avoid using too much lemon juice, as this can dry out your hair.
5. Mix the Ingredients Together
Once you’ve measured out the ingredients, it’s time to mix them together. If you’re using a bowl, simply whisk the ingredients together until they’re well combined. If you’re using a container, you can either whisk or stir the ingredients together.
6. Apply the Paste to Your Hair
Once the lemon juice and henna powder are well combined, it’s time to apply the paste to your hair. We recommend using a clean, dry cloth to help you apply the paste evenly to your hair. Simply wrap the cloth around your fingers and use it to work the paste into your hair.
7. Leave the Paste on Your Hair for 30 Minutes to 1 Hour
After you’ve applied the paste to your hair, it’s important to let it sit for at least 30 minutes. This will give the lemon juice time to work its clarifying magic! If you have time, we recommend leaving the paste on your hair for up to 1 hour.
8. Rinse the Paste Out of Your Hair
Once the paste has had time to work its magic, it’s time to rinse it out of your hair. We recommend using lukewarm water and rinsing your hair until the water runs clear.
9. Style Your Hair as Desired
After you’ve rinsed the paste out of your hair, it’s time to style it as desired. We recommend using a natural, sulfate-free shampoo and conditioner to help preserve the lemon juice’s clarifying properties.
Another Method: Apply Freshly Squeezed Lemon Juice to Your Hair After You’ve Applied the Henna Paste
If you’re going to apply the lemon juice after you’ve applied the henna paste, we recommend doing so after you’ve left the paste on your hair for at least 30 minutes.
This will give the lemon juice time to work its clarifying magic! Simply apply the lemon juice to your hair with a cotton ball or your hands, then rinse it out with water.
See Also: How to Remove Toner From Hair With Lemon Juice?

How to Care for Your Henna Hair After Using Lemon Juice?
After using lemon juice in your henna treatment, you will want to make sure you take care of your hair properly to maintain the color and shine of your hair.
Here are a few tips on how to care for your henna hair:
- Wash your hair with a mild shampoo and conditioner. Avoid using products that are harsh or contain sulfates as these can strip away the color from your hair.
- Use a deep conditioning treatment once a week.
- Trim your ends regularly to avoid split ends and damage.
- Avoid heat styling tools as much as possible. If you must use them, make sure to use a heat protectant spray.
- Wear your hair up in a bun or braid when you are going to be out in the sun for extended periods of time. Lemon juice can make your hair more susceptible to sun damage.
- Be gentle when brushing your hair and take your time detangling it. Wet brushing can help prevent breakage.
You may assist keep your henna hair looking its best by following these guidelines!
The Bottom Line
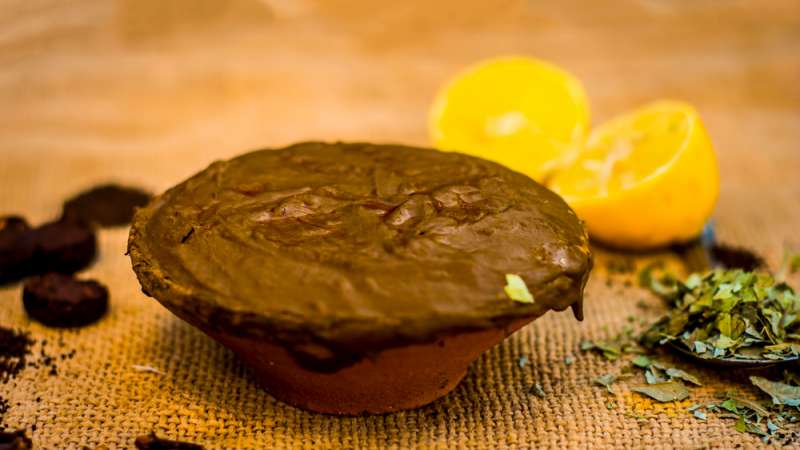
Lemon juice is a great way to naturally clarify your hair and remove build-up. When used in conjunction with henna, lemon juice can help to boost the effects of the treatment and leave your hair looking and feeling its best.
Simply mix lemon juice and water together to form a paste, then apply it to your hair as normal. For best results, we recommend leaving the paste on your hair for at least 30 minutes before rinsing it out.
We hope this post has been helpful in showing you how to use lemon juice for henna hair! If you have any tips of your own, please share them in the comments below.
Have more questions about henna hair dye? Check out the related articles:
