The extra time spent at home brings us the chance to acquire new skills. If you have been longing to try out all those DIY beauty hacks from YouTube, now is your chance. But if you’re wary of making mistakes and taking risks, we’ve got your back!
Our first suggestion is starting small and unintimidating – like nail art. It’s a great way to be creative and if there are any slip-ups, it’s easy enough to wipe the slate clean with a bit of nail polish remover.
Today, we’ll guide you through thickening your nail polish for stamping so that you can dazzle up your nails whenever you want! Our step-by-step instructions will make it simple as can be – by the end of it, you’ll be a pro!
So let’s get started! The holidays are fast approaching and it’s time to get ready.
Are you planning to wear a navy blue dress? Find the perfect nail polish color for that outfit!
What Is Nail Stamping?
Nail art provides an excellent opportunity to express your creativity and add a unique flair to your look. Involved techniques are time-intensive and complex, making it best to leave them to the experts and turn to simpler options such as nail stamping instead.
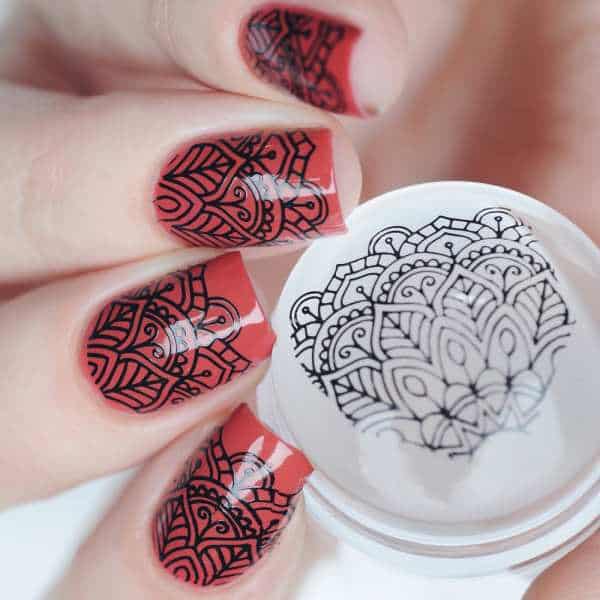
This particular technique is relatively new but is quickly catching on due to its approachability. Compared to hand painting, it does not require any special skills or a steady hand; similar results can be achieved with minimal effort.
Nail stamping enables you to create detailed designs that would be nearly impossible to achieve with freehand painting. Furthermore, you can change the design as soon as it is no longer desired, with a practically countless array of designs available both in stores and online.
Not only is this process cost-effective due to its lack of expensive equipment, but it also proceeds quickly due to all the necessary tools being included in various kits. As you become more experienced, individual tools may be purchased for further convenience.
How does the process go?

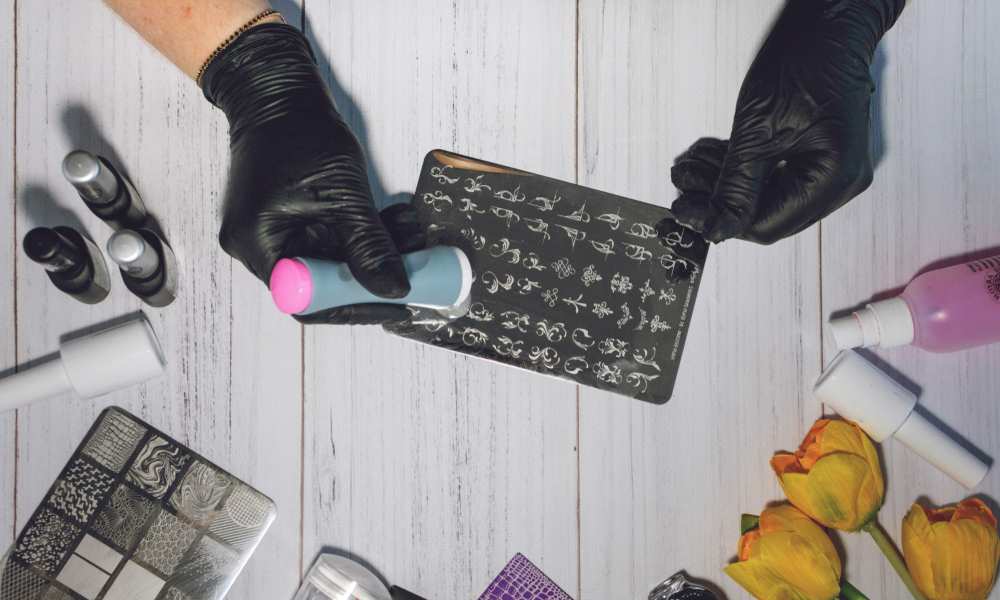
- To begin the nail stamping process, apply a thick layer of nail polish to the metal plate.
- Utilize the accompanying scraper to remove any excess polish and then press the stamping tool into the intended design.
- Initially, use rubber stampers that come in most kits, with transparent alternative available for increased perfection and ease of manipulation.
- Finally, press the stamper onto your nails’ surface to transfer the design.
The process is swift and straightforward, with plenty of fun to be had – even by children. To ensure successful results, make sure that your nail polish has the necessary thickness. A later section will provide guidance on thicken up your nail polish.
Before you continue, find out if you can paint over acrylic nails.
Step By Step Guide: How To Thicken Nail Polish?

Why Should You Make Your Nail Polish Thicker Than It Already Is?
When you buy nail polish, it is most likely too watery and runny for almost any nail art technique, nail stamping included. Moreover, thicker nail polish will be much easier to use to create perfect nail stamping designs on your nails.
How To Thicken Your Nail Polish?
- Start by opening the nail polish bottle.
- Soak the brush with some nail polish remover and set it aside. That will prevent it from getting hard while you thicken the nail polish.
- Place the open bottle of your nail polish in a warm area and expose it to a continuous air-flow by opening a window or turning on a fan.
- Check the bottle every ten minutes or so to see if its consistency has changed. The best method is to use a toothpick.
- When the nail polish has become thick enough, simply screw back the cover. You are done!
As you can see, this method is quick and easy, and it costs nothing at all. You can turn any nail polish into a perfect tool for nail art stamping.
What happens?
- As soon as you open the nail polish bottle, the natural process of evaporation starts. Namely, all nail polishes contain liquid solvents that evaporate quite quickly when exposed to air. You simply used this fact to thicken your nail polish.
Why do you need to put the nail polish in a warm area with good air-flow?
- You do that to speed up the process so that you can proceed to nail stamping sooner.
What if you overdo it and your nail polish becomes too thick?
- If you have dried out your nail polish more than you have intended to and it has become too thick to work with, you can reverse the process by adding a little bit of a nail thinner. It should bring it back to its normal consistency in no time at all.
Are there any drawbacks to thickening nail polish?
- Well, drying out a nail polish will make it suitable for nail stamping, but quite useless otherwise. You will not be able to use it for its usual purpose anymore. In a way, you are wasting a perfectly fine nail polish, especially if you do not apply the nail stamping technique often in the first place.
- Luckily there is an alternative – you can buy a stamping polish that has been made especially for nail art stamping. Besides, stamping polishes take the guessing out of the whole process. They are naturally perfectly thick but also more pigmented.
Alternative Method To Thicken Your Nail Polish
If you fail to thicken your nail polish the way we have just explained (which is highly unlikely), you can try adding Xanthan Gum Powder to the nail polish bottle.
What is Xanthan Gum?
It is a thickener widely used in the food industry to thicken jams and sauces. it is also often used in cosmetic products such as shampoos.
If you decide to use it to thicken your nail polish, start slowly and add only a little at a time. Make sure you mix it in well before you add more. Check the texture of your nail polish with a toothpick and if it is still too runny, add a little bit more of Xanthan Gum until you are satisfied with the result.
Final Words
Viewing nail art as something only available in beauty salons is a thing of the past. Thanks to the introduction of nail stamping, you can achieve salon-quality designs from the comfort of your home.
Not only is this more economical and straightforward to master, it also allows you to reuse your nail stamping kit numerous times. Therefore, invest in a kit and enjoy producing stunning art with ease!
Don’t forget to share photos of your results with us – we love seeing happy customers!


