It’s been a long day at the salon, and you had a ton of work, but now it’s time to put clean and put everything away. But do you know how to dispose of your materials?
For example, do you know how to clean nail art brushes?
If you are still a little new to this but want to make your brushes spotless in no time and learn something more about cleaning your working materials, we encourage you to read on!
Easy Cleaning
I’m sure you have a lot of brushes around you and little time to clean them all. You want to take care of this matter as quickly as possible.
You’re lucky because here are three ways to clean your nail art brushes.
Acetone And Detail Art Brushes
- The first thing you have to do is pour an acetone or non-acetone remover into a small bowl. Next, dip the brushes into the bowl and swish them for about 10-20 seconds.
- Don’t push too hard on the brushes because you may bend the bristle.
- Take a cotton pad or paper towel (whatever is nearest to you) and blot the bristles of the brushes. Turn them around by doing it, so you get all of the acetone out.
- Cotton pads and paper towels are excellent absorbers of any kind of liquid substance.
- The last thing you should do is put some cuticle oil on the bristles and condition them. If the brushes aren’t holding their shape, adjust them with your fingers.
- This will make sure that they are 100% clean.
Alcohol And Gel Brushes
- For this, you will need some cotton pads and your regular alcohol. Gel brushes are made out of synthetic bristles, so it is safe to clean them with alcohol.
- Put the cotton pad down and pour alcohol on it. Then, pick up your gel brush and wipe the brush on the cotton pad for about 15 seconds till you get all the color out.
- After you are done with this, use this cotton pad to wipe the handle of the brush to remove the extra residue and stickiness.
- You should have a cap for these kinds of brushes, so you should put the cap on and store them horizontally when you finish them.
Monomer And Acrylic Brushes
- Pour a small amount of monomer into a small bowl. The monomer is a liquid substance that is made for delicate brushes like acrylic ones. Dip the brush into the bowl and swish for 10-20 seconds.
- You can also put the monomer on a cotton pad and wipe the brushes.
- After you are done, wipe them with a paper towel and be careful not to bend the bristle.
Some Additional Tips

You want your brushes to be correctly cleaned and organized. Well, you can’t achieve that by just throwing them back into the drawer after you finish the treatment.
You need to know some of these tips for cleaning and replacing your brushes.
Some nail technicians keep their brush cleaner near them during the treatment. They just give the bristle of the brush a gentle squeeze and a wipe in between using them.
But don’t go overboard. You shouldn’t soak the brush – just a gentle wipe.
We established that monomer is the right choice for acrylic brushes. Nail technicians recommend using this on a daily basis for your brushes to be flawless.
After cleaning them, adequate storage is essential. You should store your brushes in a non-airtight container or drawer – allowing the air to circulate.
You should also avoid exposing your brushes to UV light because it may cause curing.
The life of a brush depends on how many functions it serves. For example, one brush can be used for both acrylic and gel treatments.
When you notice that the bristle of the brush starts to fray, it is time for a replacement.
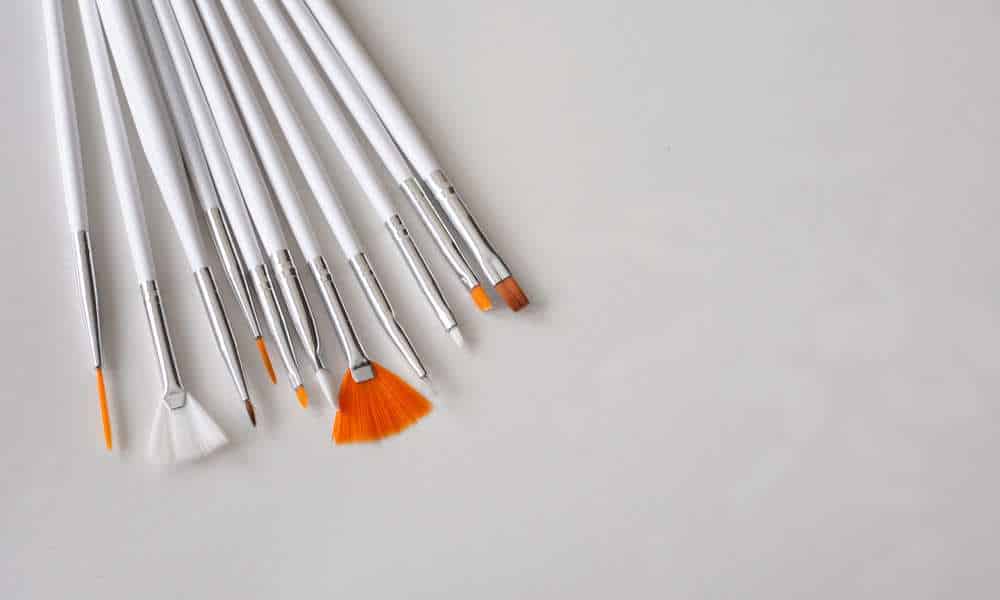
The shape of the brush, on the other hand, depends on you. However, one thing remains clear – for nail art, you will need a brush with a fine tip.
The Top Five
If you are thinking of purchasing some new brushes, these are the top five on the market right now.
- Misaki Kolinsky Crimped Acrylic Brushes – long-lasting and perfect for acrylics.
- Beaute Galleria 50-Piece Nail Art Kit – equipped with 15 different brushes of all shapes.
- Kolinsky Clean Up Brushes by Twinkled T – come with matching color caps.
- Pana Professional Kolinsky Acrylic Nail Brushes – perfect for UV builder gel.
- Anself Nail Art Liner Brush Set – come with protective caps and work for UV, gel, and acrylics.
How To Clean Nail Art Brushes – Conclusion
Every salon worker wants to make their brushes spotless in no time. However, it would also be useful for you to learn a couple of other tips about your equipment.
You can clean your brushes in 3 ways: cleaning nail art brushes with acetone, acrylic brushes with monomer, and gel brushes with alcohol. There is nothing complicated about these three procedures. You just need to have a bowl where you will pour your cleaning substance and swish the brush in there for a couple of seconds. When you pull out the brush, let it dry on a paper towel or a cotton pad for a couple of minutes, and you are good to go.
Of course, if your brush came with a protective cap – do not ignore it.
Next, there are a couple of tips regarding cleaning and replacing your nail art brushes. Of Course you should clean them every day at the end of your shift, but some nail technicians recommend doing some small cleaning in between usage.
Storage is also essential. You should keep your brushes in a non-airtight container so the air can freely circulate. You should also avoid exposing your brushes to UV light because it may cause curing.
When you notice that the bristle of the brush starts to fray, it is time for a replacement.
The top 5 brushes on the market right now are Misaki Kolinsky Crimped Acrylic Brushes, Beaute Galleria 50-Piece Nail Art Kit, Kolinsky Clean Up Brushes by Twinkled T, Pana Professional Kolinsky Acrylic Nail Brushes, and Anself Nail Art Liner Brush Set.

