How much do you know about hair lightening?
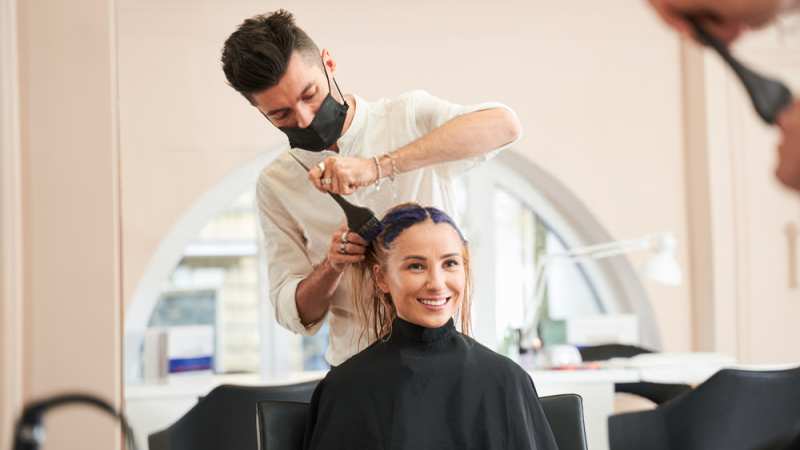
You’re used to going to the salon and flipping through magazines while your hairdresser gets the job done. After an hour, you’re all done and flaunt your fresh, new highlights.
Now, let us ask you a question: Have you ever considered the steps you need to go through to lighten your hair? Cause there’s much more to it than you thought!
If you’re into hair care and are interested in the accurate picture behind the process that gets done in the salon, don’t go anywhere.
We’ll be breaking down the realistic stages of lightening dark hair and reflecting on some hair care tips you might’ve overlooked!
Types Of Hair Lightening – A Quick Recap
You could probably use a quick recap of the types of hair lightening, so here it goes:
Basic Highlights
Highlights are specific strands of your hair that are of different colors than the rest – mostly in lighter shades.
The most common highlights are the blonde ones on light brown hair. And if you’re a blonde, this means even lighter blonde shades.
One thing is certain, though: Don’t do DIY highlights if you’re not skilled at it.
The chances are that it’ll not go well, and you’ll end up with a striking yellow instead of an ashy blonde.
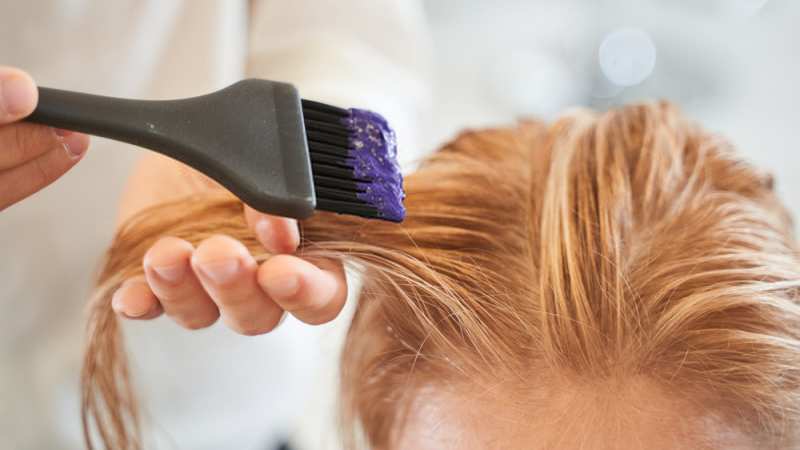
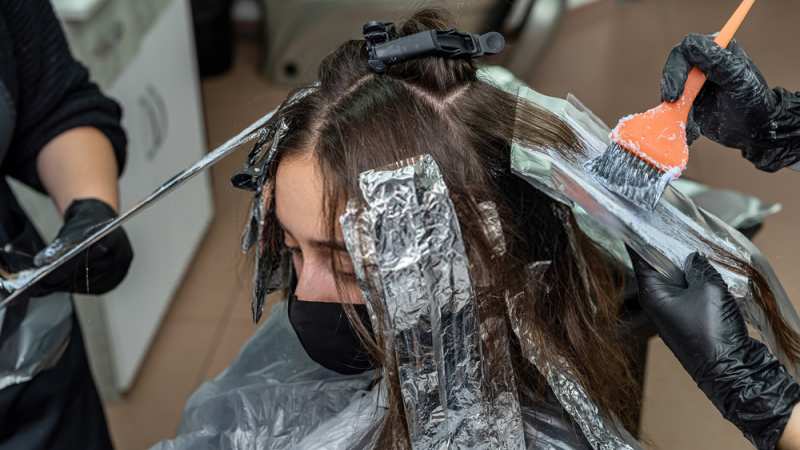
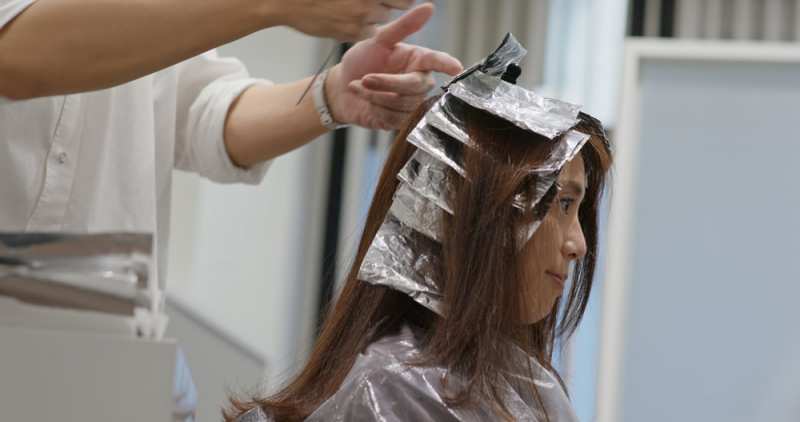
The bleaching process is generally done with the help of foils:
Your hair is bleached from the roots to the very edges, wrapped in multiple levels of foil, and kept for at least 20 minutes – depending on the shade you’re going for, of course.
Balayage
The first thought when you hear the word “balayage” must be something like: “Oh, this takes too much time!”
And you’re right; the balayage process is a rather lengthy one – but it offers the most natural results when it comes to hair lightening.
It’s close to ombre, but the process itself is not the same:
With balayage, the foils are placed vertically rather than horizontally. Still, the section of your hair intended to be lightened is dyed by hand and then put into a foil.
Ombre
If you’re someone who follows trends, there’s no way that you skipped this one. The ombre process of lightening hair was at its peak of popularity in 2010.
A long time ago, right?
The ombre process isn’t that extensive, and it implies that almost half of your hair should be in a lighter shade. Of course, with a gentle transition.
However, with popularity, the number of people who tried this trend on their own skyrocketed – resulting in horrific scenes of two completely opposite shades.
Most of these DIY attempts were nowhere near a natural transition, though, leading to many dissatisfied women who chose to cut their hair short and avoid any further trouble.
Here, the bleach is placed horizontally in order to get the desired effect.
But maybe the key thing that has popularized this method so much and made it a worldwide sensation is that it’s pretty low-maintenance – when done right.
Baby Highlights – A New Trend?
You could say so.
The so-called “baby highlights” are the latest trend when it comes to hair lightening. This method aims to provide the client with the “natural look” that children’s hair gets after a long day in the sun.
What sets this process apart is how the hair is bleached:
The bleaching does not start from the roots but is carefully and hand-painted on certain parts, allowing a smooth, natural-looking transition.
Related Read:
- How to Lighten Hair Without Bleach?
- How to Lighten Hair With Developer?
- Hair Toner Too Dark How To Lighten?
- Can Developer and Baking Soda Lighten Hair?
Lightening Dark Hair – What Does It Really Take?
Here’s what the accurate picture behind the process of lightening your hair looks like and what you should pay attention to if – or when – you decide to go through it.
First, let’s start with whether you choose to lighten your hair yourself or let the salon do it for you.
In the first scenario, you might want to stay tuned for the home version we’ll be discussing in a minute.
And if you’re sticking to the salon, here’s what this process looks like from your hairdresser’s perspective.
Scheduling The Appointment
You should visit a salon before you schedule your appointment.
Why?
Well, your hairdresser must first assess the condition of your hair at the moment and check whether it will be able to withstand bleaching.
Of course, after you explain which shade you want.
Let’s say that your hair is in good condition – and you’re all set for lightening.
Preparing Your Hair
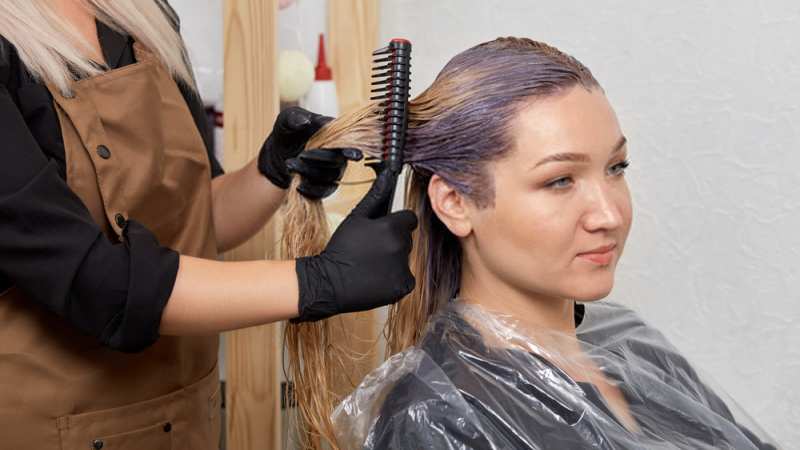
Your hair must be well combed so that the bleach brush can reach every strand of hair.
Now, this process can take up serious time if you have long hair:
Not only will the process of applying the bleach and foil take longer, but you will probably have to wait longer for it to absorb, too.
You can expect to spend at least two hours in that chair.
The Lightening Process
With hair lightening, it is imperative that your hairdresser acts professionally and mixes the right shades. Otherwise, you could end up with a transition that will look very unattractive – not to mention unnatural.
Once your hair is bleached and wrapped in foil, let it sit for a while.
When it finally comes time to rinse, it must be done thoroughly – and your hairdresser must get all of the bleach out of your hair. Of course, they’ll throw in some extra hair care products that will give your hair that silky feeling once you’re all done.
The Aftercare
Now, most of you are probably complaining about how your hair is not as beautiful as when you first came out of the salon – and here’s the catch:
You have to be dedicated to your hair and its maintenance!
That involves using the right conditioner, avoiding shampoos with harsh chemicals, making sure you don’t use heat tools that often – you get the idea.
As for the hair damage, the truth is that your hair can stay healthy and silky even if you’ve lightened it several times. But again, that mainly depends on the professionalism of your chosen hairdresser.
Check Out Also: How To Tone Brown Hair To Ash?
Other Ways To Lighten Your Hair – The Real Deal
Alternatively, there are several other DIY ways you can lighten your hair, including:
- Rhubarb solution
- Using lemon juice
- Honey and distilled water
Using Home Remedies – How Effective Are They?
Doing things “the natural way” could be beneficial in the sense that you are excluding harsh chemicals – but the end result will not always be what you expected.
With that said, let’s get to some widely used at-home methods.
1. The Rhubarb Solution
Have you ever heard of the rhubarb method?
It implies combining chopped rhubarb mixed with boiling water. This mix should be applied to your hair when washing and thoroughly rinsed afterward.
You can even use it after the initial lightening – always before you condition your hair. If you aren’t comfortable doing it alone, you can do a bit of research – some salons offer their own rhubarb solution.
2. Spraying Lemon Juice
The following method involves using lemon juice – and we’re pretty sure you’re familiar with this one.
Basically, it comes down to spraying lemon juice on your hair a couple of times a day. It’s a highly recommended DIY option – especially during the summer.
Even though this method proves to be somewhat successful, it’s generally short-lived – and some women have complained that it leaves the hair feeling dry or greasy.
Read Also: Can You Dye Your Hair When It’s Greasy?
3. Honey And Distilled Water
Another popular method implies the use of honey mixed with distilled water.
Let us explain how this works:
Prepare your honey jar and two bottles – one with distilled water and one empty. Now, take a small portion of honey and the bottle with distilled water and pour it into the empty one. Mix it for a few seconds, and there you have it – your potion is ready.
As with other mixtures, this one’s applied to wet hair, only here, you’ll need to wear a shower cap for at least hour or so for it to work.
When you’re done, just rinse.
4. What Should You Remember Here?
Remember that these are all home remedies and that their effect is not 100% tested.
There is a chance that none of these methods are effective enough to lighten your hair the way you want it. That’s the reality of most DIY natural solutions.
Realistic Stages Of Lightening Dark Hair: Final Thoughts
We’ve done a pretty good job painting the real picture of lightening your hair – so, let’s do a recap of some critical facts once again.
Firstly, you need to be aware of the current condition of your hair and whether it can handle the bleaching process – be it balayage, ombre, or baby highlights.
Next, the process may take twice as long as you expected. You could end up sitting in the salon for half a day and walk out not entirely done, requiring another session or two.
There are several home remedies for lightening your hair for those who want to try the DIY approach. The most popular ones include lemon juice, honey-and-distilled-water mixture, and rhubarb.
Whatever option you go for, one thing should be clear: Your results can never look as great as they did the first day – if you don’t take care of your hair, that is.
Related Read: How To Darken Highlights With A Toner?
