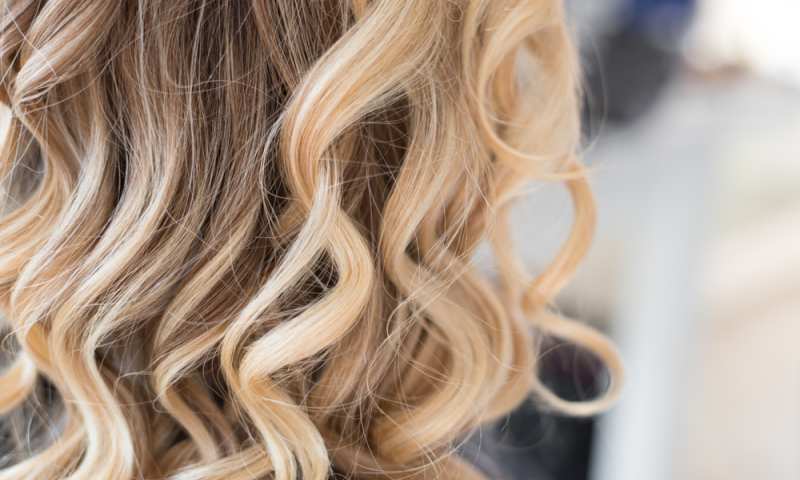
A weave is one of the most popular ways to achieve the perfect hair look. With a weave, you get to change the length, color, and style of your hair without actually doing anything to your natural hair – meaning less damage.
Some even use weaves as a protective style while growing their hair out – or taking a break from frequent bleaching and coloring.
However, doing a standard sewing weave can take hours to complete, and some even consider the process very painful.
Furthermore, getting a weave at a professional hair salon can break your bank. So, DIY options are becoming more popular. But again, there’s a catch:
If you want to do it yourself and don’t have any experience, the process can become even more complicated and time-consuming.
Luckily, there is an alternative to sewing weaves – and that is the quick weave!
We’ll cover everything about quick weaves in this article, so keep scrolling if you’d like to know more.
What Is A Quick Weave?
A quick weave is a weaving method where extensions are glued onto a protective cap placed on the head instead of sewing them into your hair. It could be done in a salon or at home – although the home option seems to be the more popular one.
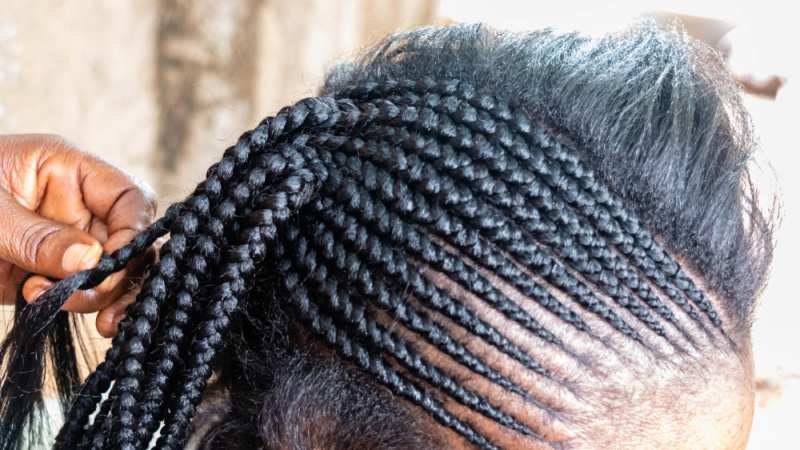
Just like with a traditional sew-in weave, the hair is braided in plaits or cornrows before applying the weave. There’s good news for those who are not fond of the braiding option, though:
With a quick weave, you can also use a hardening gel to keep the natural hair in place – rather than braiding it.
While applying the quick weave, each weft must be measured before it’s glued to the protective cap. Once a weft is applied, the glue needs to dry before continuing with the process.
Quick weaves are a more favored DIY option for beginners than sew-in weaves because they require less skill, take less time to complete, and are relatively low-priced. Even those skilled in weaving sometimes prefer quick weaves to sew-in weaves due to the convenience.
Related Read: How To Glue In Extensions?
Pros And Cons Of Quick Weaves
When it comes to quick weaves, most people have heard at least one of the horror stories about glue being stuck in hair or, even worse – being completely pasted down to the scalp without the ability to remove it.
When hearing these stories, it’s no wonder many people are scared – and against quick weaves. However, the issue is not all black and white as it may seem.
The majority of quick weave fails are due to a lack of knowledge and experience, both at home and in salons that call themselves professional. Moreover, many stories you read in magazines are over-dramatized – if not straight up made up – to grab more attention.
So, before you decide if you love or hate the quick weave method, here are the pros and cons that’ll hopefully help you make an informed decision.
Pros
The main advantage of quick weaves is that they’re not time-consuming. Depending on your experience and skill level, a quick weave can be done in anywhere from 30 minutes up to 1.5 hours if you’re a total beginner.
That makes them the ideal alternative to sew-in weaves.
If you have a job, kids, and house chores, you have to balance between the hairstyle you want and the one you have time for at the moment. A quick weave gives you the ability to have that perfect hairstyle in half of the time you would need for a sew-in weave.
Moreover, a quick weave won’t put too much tension on your natural hair, making it an excellent protective style. Instead of braiding your hair, you can use a hardening gel to keep your real hair down while wearing a quick weave.
But, be aware that the hardening gel could cause your hair to lose moisture. So, if you decide to use the gel, we recommend you use one with no drying alcohol-based ingredients.
You also don’t need to think about the thickness and fineness of your hair since the extensions won’t be sewed into your hair.
Another advantage of quick weaves is that they’re low-priced compared to other styles like box braids and sew-ins. The price range is around $50-$150, depending on whether you’re doing it at home or a salon.
Either way, it’s significantly less than what you’d pay for most other styles, meaning you’re free to experiment with your hair without spending a fortune.
Quick weaves are low-maintenance and straightforward, meaning that you’ll find everything for this hairstyle in your local beauty store, and maintaining the hairstyle is almost effortless. That’s always a plus!
Cons
Where are all the quick weave horror stories coming from when there are so many advantages to this hairstyle?
It’s the glue.
It could cause a lot of damage if you decide to do it yourself and don’t know what you’re doing. And going to a salon is not a guarantee that it’ll turn out great, either.
To be completely honest, putting glue in your natural hair is never a good idea. However, if the quick weave is appropriately and carefully installed, the glue won’t leak through the protective cap and reach your scalp.
But, more on that later.
Moving on, braiding your hair or using gel to keep the hair down could also lead to hair damage. Thankfully, you can easily solve this, so this may not be a real disadvantage.
The cornrows should not be braided too tight because it could result in hair loss. When it comes to the gel, make sure you use a high-quality one with no drying alcohols.
If you follow these rules, the braids and gel won’t cause damage to your hair.
Another thing about quick weaves is that they don’t last as long as sew-ins. A quick weave will last up to one month if it’s properly installed and maintained.
What’s more, because the extensions need to be cut to fit perfectly on the protective cap, you can expect them to shed. So, if you have expensive wefts and are afraid that this style will ruin them, we advise you not to take the risk.
Related Read: Can White Girl Get Weave?
Summary
Don’t have time for reading? Here’s a summary of quick weave pros and cons!
Pros
- Affordable
- Quick
- Low maintenance
- Less tension on hair compared to other styles
- You can use hardening gel instead of braiding your hair
- Easy to find supplies
Cons
- Glue
- It doesn’t last long
- Shedding of hair wefts
- Hair damage due to tight braids and use of inadequate gel
How To Do A Quick Weave?
With the basics covered, it’s time to talk about how to do a quick weave and what supplies you’ll need for it.
Supplies You’ll Need
The best part about quick weaves is that you can find all the required supplies in your local beauty store – or even online – without wasting a fortune.
Moreover, you’ve likely got most of the supplies already at home.
Hair Extensions
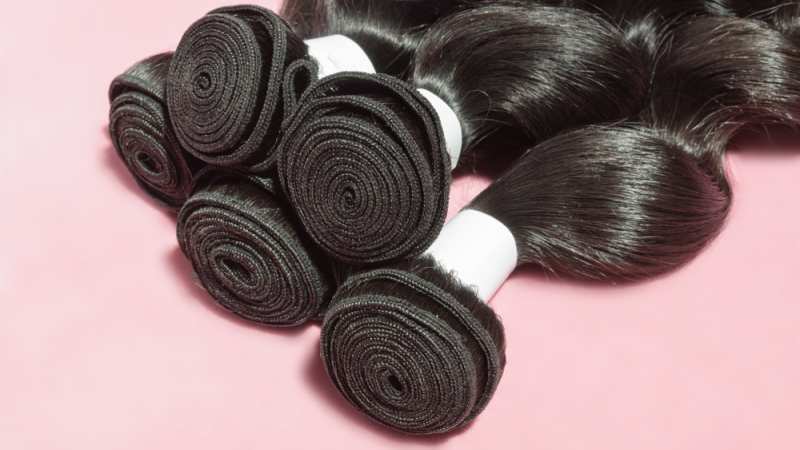
Compared to the other supplies you’ll need, weave extensions are the most expensive thing you need for this style. You can choose between human and synthetic hair – which would ultimately determine the price of your hairstyle.
As you can expect, human hair extensions usually cost more than synthetic, with a price range anywhere from $100-$3000 – if not more.
If you’ve never done a quick weave before, we recommend not using expensive extensions. You could end up ruining them with glue – and we’re sure that’s not what you want.
When it comes to the price range of synthetic weave hair, you can find them for as low as $20. These would be a fantastic option for total beginners in hair weaves. However, if you trust your skills and want a more natural look, the cheapest ones aren’t the best option.
Pro Tip: You can also use different hair textures to add more dimension and volume to your hairstyle. For example, combine wavy hair extensions with straight ones or curly with a little bit of wavy. If you want to avoid styling your hair once you’re done with the installation process, that’s a fantastic trick.
Related Read: Can You Dye Hair Extensions?
Protective Wig Cap
The protective wig cap will be the barrier between the glue, your real hair, and your scalp. These caps are usually very thin, so we recommend using two instead of just one. It will give you extra protection – and reduce the chances of the glue leaking onto your scalp.
Protective wig caps come in various colors to imitate the skin, scalp, or extension color. Which color you choose is up to you.
If you’ve already bought a protective cap, and it doesn’t match your color, there’s an easy fix – makeup!
You can use foundation to blend in the color of the protective cap with your skin color to achieve a more natural look.
Hair Glue
It’s essential to get high-quality hair glue for your quick weave. These glues won’t melt on your scalp, nor will they be too hard, meaning no irritation and damage to the hair.
Moreover, you can remove these glues from the hair. You’ll also want to look for glue that’ll dry fast – but not too fast.
We strongly advise against using any glues other than high-quality hair glues on your scalp.
Before buying hair glue, be sure to check the ingredients if you’re allergic to certain chemicals. We’d also advise you to try the glue out on your hand two days before you start with the quick weave.
A tiny drop will be enough to see whether or not you’ll get an allergic reaction.
Scissors
Make sure you use sharp scissors to cut the wefts with ease. You don’t want to struggle with cutting because that could result in damage to the hair wefts.
Related: Can You Bring Hair-cutting Scissors on a Plane?
Optional Supplies
As we mentioned earlier, if you don’t want to braid your hair, you can use molding gel to keep your hair in place. You can use a hairdryer to harden the glue once the wefts are applied.
In case you’re too scared of the glue, you’ll need a shower cap for protection. We’ll discuss that later, though.
Quick Weave Installation – Step By Step
Once you’ve got all the necessary supplies, you can start with the installation process. It’ll take you anywhere between 30 minutes up to 1.5 hours to complete your quick weave.
Step 1: Prepare Your Natural Hair
Before braiding or applying molding gel, we recommend you wash your hair and deep-condition it. That way, your hair will soak in enough moisture and proteins, meaning you won’t have to worry about your hair drying out while wearing this style.
Once that’s done, either braid your hair in cornrows or use gel to keep it in place.
If you’re worried about how natural the weave will look on the top of your head, you can leave out a middle or side piece of your hair. That way, you’ll have a natural middle or side part that’ll enhance the overall look of your hair.
Use hair clips to put your natural hair away so that you don’t mix it up with the extensions and get glue on it.
Related Read: Should I Blowdry My Hair Before Braiding?
Step 2: Put On The Protective Cap
Place the protective cap on your head, ensuring all the hair is covered. For extra protection, use two wig caps.
If the wig cap’s too big for you, just cut off the excess part. It won’t cause a problem while gluing on the wefts.
Pro Tip: If you have a part or leave-out, mark it with a concealer. That will help you prevent gluing an extension too near the leave-out part.
Step 3: Apply The Hair Wefts
Hair extensions can be glued on, starting either from the front or from the bottom of your hair. We recommend starting from the bottom and working your way up – because it’s much more manageable.
Each hair weft needs to be measured before you apply it. Just measure the wefts around your head to determine where you should cut them.
After you’ve measured a weft, apply the glue and glue the extensions onto the protective cap. You don’t have to use a lot of glue. Use just enough so that they stick to the cap’s surface.
By using the right amount of glue, you avoid it leaking through the protective cap onto your hair and scalp.
Take note that the weft needs to be dry before you can move on to the next section. You could use your hairdryer to speed up the drying process. Use the cool setting, though, because hot air will just melt the glue.
If you have a leave-out of your natural hair, cut the protective cap following the lines you drew with the concealer once you get close to it.
Step 4: Style Your Hair
Once you’re finished with setting your hair extensions, you can proceed to style your hair.
You can style it just how you would like your natural hair. And remember, in case the protective cap doesn’t match your color, you can correct that with a bit of foundation or concealer.
In case you’ve already bought extensions that are styled, just do a quick check to ensure that everything’s in place and that the tracks are not showing – and you’re good to go!
Need Some More Explanation?
If these steps seem a little confusing or you just prefer a visual guide, here’s a good video you can watch.
The “Glueless” Way
We have good news for those worried about the glue and who don’t have enough confidence in being able to use the previous method successfully. You can use a shower cap so that the glue won’t have a chance to leak onto your scalp.
Put on the shower cap first, then put on the wig cap, and continue with the rest of the steps we outlined previously. That way, your hair will be glue-free, and you’ll have a wig that you can use again in the future!
Here’s a video showing you how the no-glue method works:
How Long Does A Quick Weave Last?
A quick weave usually lasts around three to five weeks. It can last as long as a sew-in weave – however, that largely depends on the quality of the wefts, glue, and how it’s installed.
But, of course, with proper maintenance, your quick weave will last longer.
How To Maintain A Quick Weave?
A quick weave doesn’t require a lot of maintenance, and you can maintain it just like you would with your natural hair.
It’s best to wear a silk scarf while sleeping to protect the hair. You can also use a silk pillowcase – but the silk scarf is a much better option.
Furthermore, you can comb and style the quick weave as you would do your natural hair. We’d recommend not using much heat while styling, though, because it could melt the glue.
Pro Tip: You can wash your quick weave if you want to – just make sure you wash it with cold water not to melt the glue and make a mess. Moreover, note that applying hair oils and conditioner on the quick weave isn’t a good idea because it could soften the glue and peel off the wefts from your protective cap.
Related Read: Best Shampoo For Weaves
How To Take A Quick Weave Out?
Contrary to what you might’ve heard, quick weaves are actually easy to remove. Of course, this only holds true if you’ve used the suitable glue and installed the weave correctly.
In this section, we’re going to cover when it’s time to remove your quick weave and how to do it without damaging your hair and scalp.
How To Determine When It’s Time To Remove Your Quick Weave?
You’ll know it’s time to remove your quick weave when it starts shedding.
Once it starts shedding, there’s not much you can do to stop it – so, the best would be to remove it.
Quick weaves aren’t meant to last more than five weeks, so we recommend removing it – even if it doesn’t start shedding. Both your scalp and your natural hair will be thankful.
How To Remove A Quick Weave?
To remove a quick weave, you’ll need oil, an oil-based hair product, or a conditioner. It doesn’t have to be anything expensive – even a basic low-price conditioner that you can find in your local beauty store will do the job perfectly.
And if you want to use oil, any oil will do the job because it’s only meant to help remove the glue in this case.
The first thing you want to do is clip your leave-out out of the way. Soak your hair in warm water. The glue should loosen up because of the temperature – and at this point, you should be able to move the wig cap.
It’s essential not to force anything, though.
Take your time to apply and massage the oil or conditioner onto your scalp – and slowly remove the wig cap.
When you’ve removed the wig cap, check if any glue residue is left on your scalp and remove it. After that, you can move on to washing and deep condition your hair like you usually would.
Don’t Trust Yourself?
If you’re too afraid that something will go wrong and that you’ll ruin your hair, you could always visit a professional.
By visiting a professional salon, you can be sure that the quick weave will be removed without causing damage to your hair and scalp. Even more so, your hair will get adequate post-weave hair care.
Conclusion
To sum everything up, a quick weave has more pros than cons.
It’s a quick style you can pull off in less than an hour without breaking your bank. Moreover, it doesn’t require much care, lasts up to 5 weeks, and looks absolutely stunning.
The major downside of this style is glue. However, it doesn’t actually have to come in contact with your hair and scalp.
We hope this guide was helpful – and good luck with your quick weave!


